Building Acrylic Tanks for Gecko Condo
Yesterday I put together the external portion of the first level of the condo. I took much longer breaks than I needed to so things could cure. I am going to try and get a second one done tonight so will be giving it less time to rest between joins.
My main tools in this are:
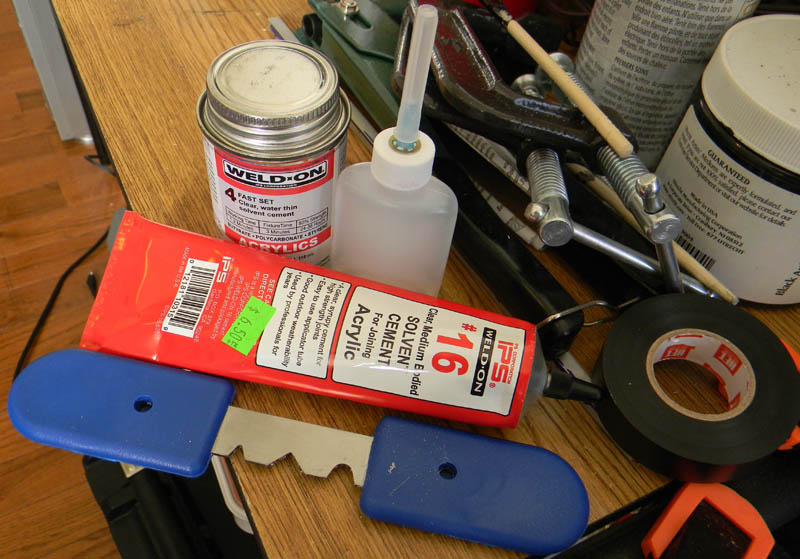
Weld-on-4 - An acrylic solvent about as viscous as water that I use to bond the pieces together. This nearly identical to Weld-on 3 only it gives you about a 30 second work time if something shifts, where Weld-on 3 gives you essentially no work time.
Weld-on 16 - Like Weld on 4 only much thicker and does not create as strong of a join. Used to supplement bad joins from the weld-on 4.
Applicator bottle - With 22 gauge needle to apply the Weld-on 4.
A scraper - To smooth out the saw cut edges some. Also used to bevel and round edges. Essentially it is just a piece of 1/16" sheet metal with plastic handles.
Electrical tape - To hold pieces until they are joined
A square - For measuring and making sure the joins are square.
Flashlight - To make certain you can see where the solvent has flown.
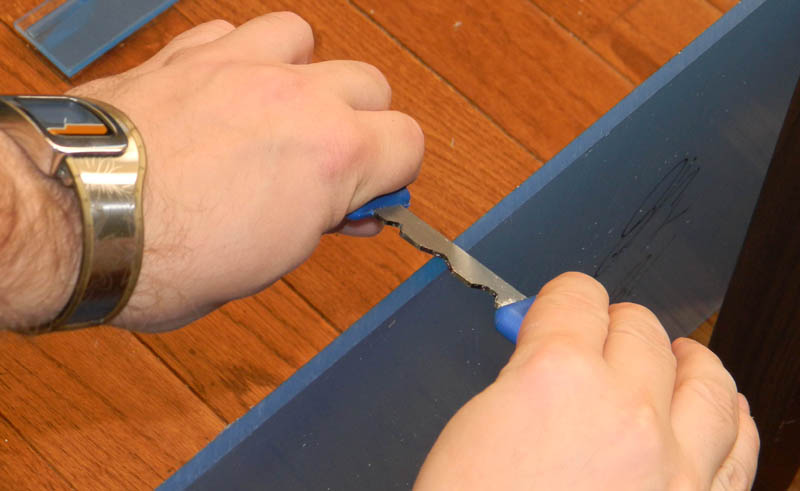
Because this is a terrarium and not an aquarium I went with saw cut edges rather than paying them to be router finished. The smoother the edges are the better the join will be. I bought this scraper to smooth out the edges so they are not nearly as rough as when I first picked them up. It doesn't get them completely polished, however, and you can see some bubbles in the join. I am not too worried about it, but if I get a bad spot in the seem I will use either caulk or weld-on 16 as a precaution. To use the scraper you just secure the plastic as best you can, tilt the scraper to a slight angle and pull it towards you.
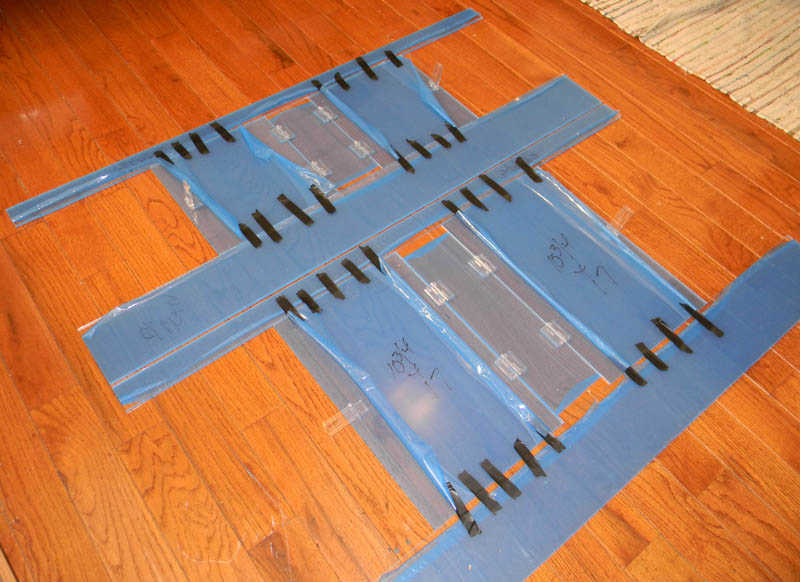
Once the edges were scraped I assembled all 3 front panels. This meant joining the top and bottom sections with the thin middle one, and attaching the hinges and hasps to the two inner doors on each panel.
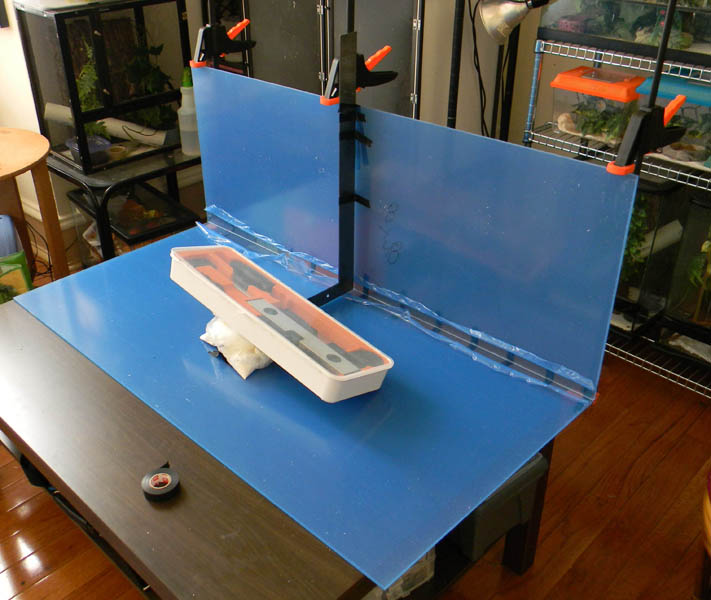
Next was assembling the main body starting with the back. I lined up the two pieces and very loosely secured them with quick adjust clamps. You actually don't want the pieces that you are going to join to be tightly clamped to each other. It makes it more difficult for the solvent to flow between them. You basically just want them loosely in place and then let the chemicals flow.
I attached the square to the two pieces with electrical tape to make sure they stay square. Due to the weight I had to stick some things on the lower portion. I also used electrical tape on the outer portion to secure the edges from slipping.
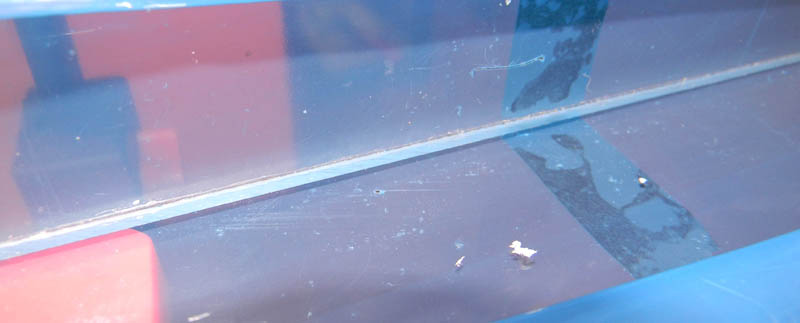
This is the join before applying the Weld-on 4. notice the white area, this is where the top saw cut edge comes in contact with the polished surface. You can use this to tell where the solvent has and has not reached.
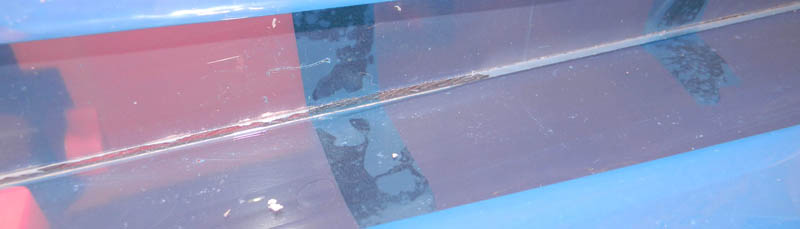
Here is the join mid-solvent application. Notice how some parts have become totally clear? This is where the solvent has reached and dissolved the acrylic. You will notice some little spots in the clear parts that are still white. These are gashes and other nicks in the saw cut edge that I did not scrape out and where there will be no join. I can pump more solvent in there to try and reach them, but it likely will not work. If this were an aquarium that would be unacceptable, but because it is a terrarium that will not hold standing water it should be fine.
The stuff works really fast. If you don't get it done in about 30 seconds you are screwed. After those 30 seconds you can't really move the pieces at all but you could still pull them apart. After a couple of minutes the pieces are almost as strong as if they had been cast together as one whole piece. In a couple of days the joins reach full strength.
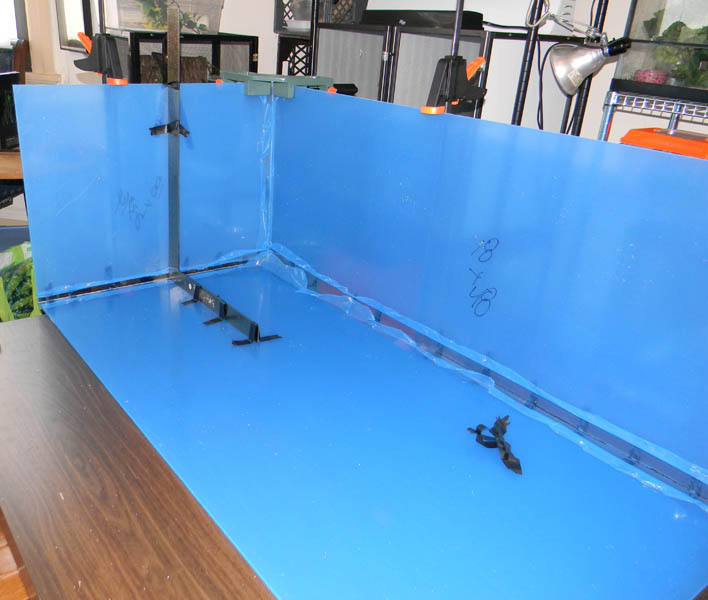
Attaching the first side. Things go on easier after the first piece. It is easier to keep things square and the smaller pieces are not as likely to tip or wander.
Attaching the other side.
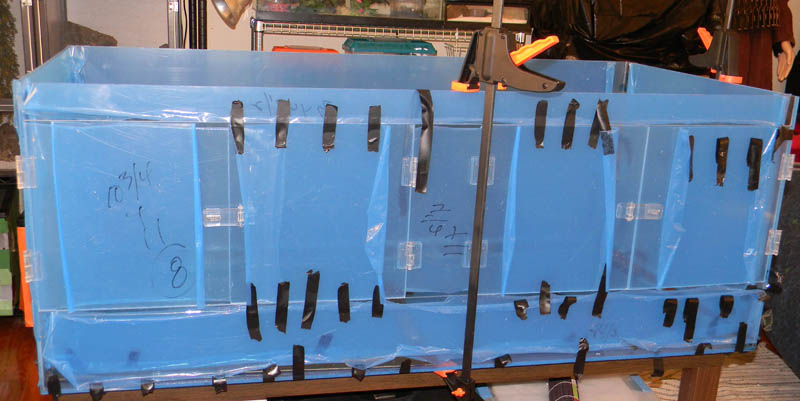
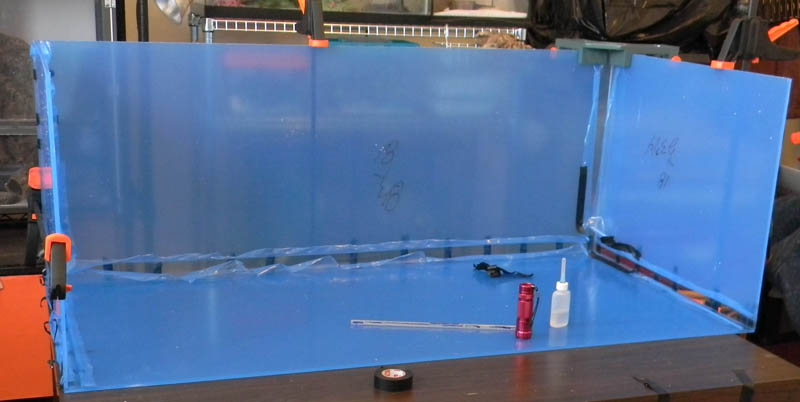
The attached front with the additional two doors.
The walls and doors of this tank may be finished, but I still need to add in the guides for the partitions in the tank and the supports for the ceiling. These should make the tanks much more stable as a secondary function.