Finishing the Structure of Gecko Condo
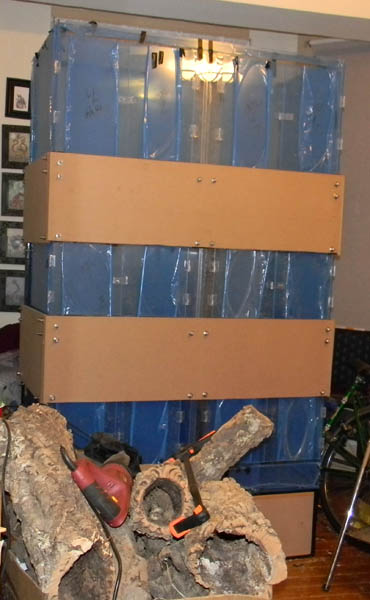
Gecko condo phase 1 is complete! It is now up to the same point it would be if purchased commercially. 315 gallons worth of gecko housing is ready for the next steps...
1. Build supports and bottom cabinet (completed except some paint)
2. Build the 3 tanks that make up the condo
3. Line up and drill the holes for securing the tanks to the supports.
4. Build the skirts for between levels.
At this point the project will be equivalent to the commercial gecko condos that cost $3,000 plus. I have everything purchased for the above and am a bit under $1,000 for all plastic, wood, metal supports, hardware, paint and solvents. I plan on going further, however.
5. Build naturalistic backgrounds and substrate using Great Stuff foam and natural materials
6. Building an automated misting/watering system
7. Lighting (optional for the moment since what I am working with, may change because of plants)
8. Planting
9. 3D print bolt covers, nut casings and drawer pulls to hide hardware.
From where I left off in the last post about gecko condo, the next step was build the skirts. I had a sheet of .5" thick MDF cut into 13.25" wide chunks. This was a little too close to tops and bottoms of the doors and I decided to cut off a .25" section from the two front skirts. Not the easiest task with a jigsaw but it worked out ok. Being able to work in an actual workshop rather than an apartment bedroom with hand tools would have been a huge plus overall, but you make do with what you have.
Once I trimmed the front skirts, I cut the side skirts to size. Clamped the skirts to the frame of gecko condo, marked where I need to drill holes, and then drilled the holes.
Test fit
Once I had the skirts on ok I had to mark where I needed to cut them into sections so I could pull off 14" sections as doors. I originally was going to go with swinging doors for the skirts, but what I decided on was easier to build and, when I have the bolt and nut covers done, will look better.
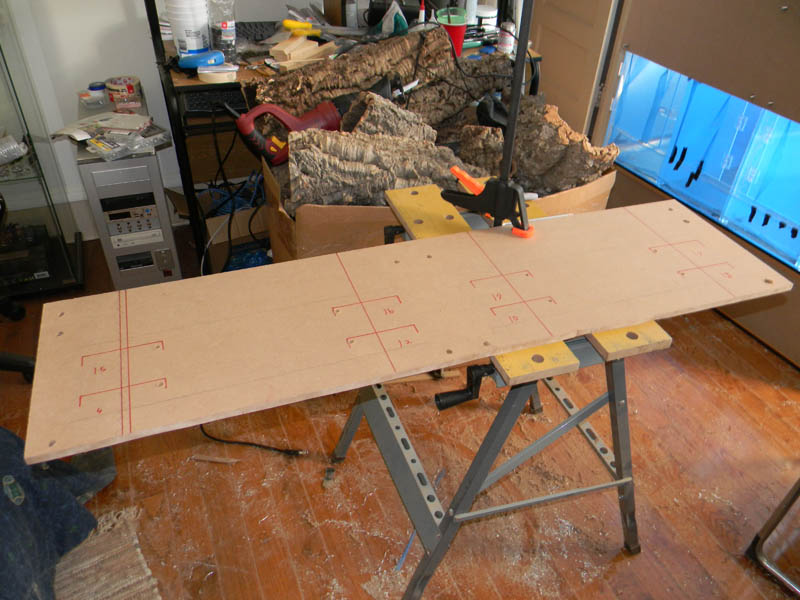
Measuring out the cuts and where to drill holes for the door supports.
I used some .125"x.75" aluminum bar with a .25" diameter bolts JB welded to the aluminum bar as a the connectors for the skirt doors. I know MDF has a bad reputation for retaining screws, but I purchased some screws designed to hold in MDF from McMaster Carr and they seemed to work just fine and hold solid. If it had been loose I would have JB welded the aluminum to the MDF along with screwing it in.
Next test fit with the cuts made and the aluminum attached
At this point all I had to do with the frame was paint it and re-assemble. I did still have to finish the lids, however.
I didn't really take any pics of the lid process other than the one from the previous update. They do work, but I am not a huge fan of them. For one thing, I should have made them a little smaller. I had to shave down one of the long and one of the short edges with my dremel on all of the lids to make them fit. This was a huge pain. Additionally, though the caulk is holding ok, the bond to the plastic is not fabulous and I could see it separating at some point down the road if I have to mess with them too much. Putting a rivet or some other plastic bonding agent in between the layers to solidify the bond, plastic to plastic, would help a lot. Finally, I need to make sure I somehow clip the screen on the outer partitions of each tank to the partition wall. There is only a .125" gap between the of the wall and the wire, but the wire is flexible enough that a small or medium sized strong gecko could just push its way through to the partition next door.
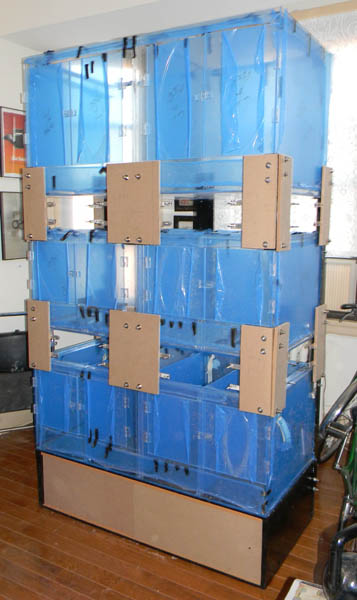
With lids done, I just had to rip off the plastic, re-assembe everything and bolt it together!
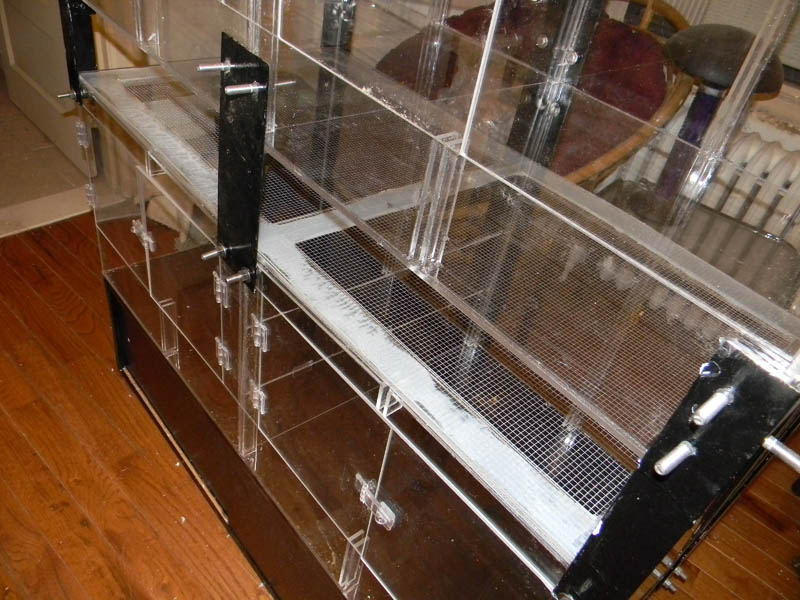
Close up of lid on bottom layer
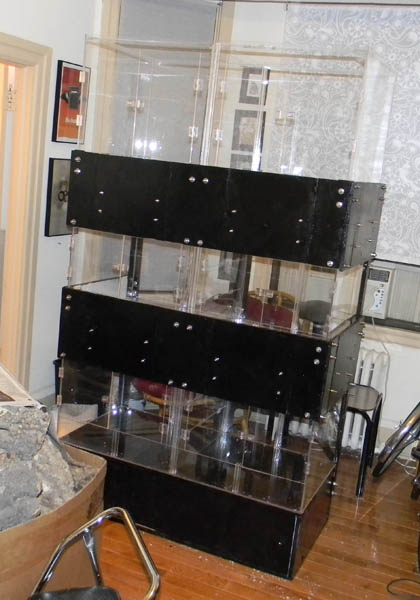
Finished gecko condo!
That's it for the main build. Next step is the naturalistic backgrounds. I ordered some basic plastic to attach great stuff foam to. I am thinking of attaching it to the back wall by wiring it to the rear bolts, and possibly with hot glue. I just need something that will hold it to the wall and not be permanently attached.